Showing posts with label paper crafting. Show all posts

Saturday, May 23, 2020

Everyone Knows How Much I Love Glitter

Hello all. Salima here with Judy Markowitz's infamous Alicorn.  Isn't he just beautiful.  I used rainbow colored Stampin Blends to color his main in the colors: Real Red, Pumpkin Pie, Mango Melody, Shaded Spruce, Seaside Spray and Blackberry Bliss.  His unicorn and front bangs are all glittered up with Nuvo Pure Sheen glitter: Glitter Diamond and Glitter Champagne. I cut a couple of curves in some scrap paper and used that to represent clouds with Impression Obsessions Rose colored hybrid dye ink.  Gold mirror paper is the matting for our image. Sentiment is from The Ton stamp set called Easy Expressions layered on Gold Mirror paper.  You know the shine from the glitter was not enough. I took my Spectrum Noir Sparkle marker and went over the main of Alicorn to make him shine just a little bit more. They don't call me the Glitter Queen for nothing! 
You can find Judy's Alicorn Digi Stamp here. 
Thank you for visiting. 


Tuesday, May 19, 2020

Pink Perfume


Hello all!

I am back with another craftroom Creation featuring Coffee Bean Design digital stamps, For my cards today I played with the perfume jars collection.


To start off you'll need to print your images out I recommend on card stock, I used 80 pound white card stock but you can use whatever you have. I find coloring relaxing so I choose to use my Copic markers to color in these images. I am working on improving my pink blends (RV/R) since I struggle with them a bit and practice makes progress.

Heart Jar: RV11, R83, R85, RV34, R59, W1, W3, W5
Tear Drop Jar: RV02, RV04, RV06, RV19, N2, N5,C7 C9

I find with the RV/R color family I need to use more colors to get the blend I want. I tried 3 and 4 marker blends and they work but I wasn't getting the depth I wanted. I added another marker to my blends and got much better dimension. I notice with the RV/R color family the lighter colors pick up  more of the darker color than with other color families. When coloring I went lightest to darkest then back out but didn't color over the previous area just blended out the edge. After my images were all colored I added details with my white gel pen and a small “kisses” stamp.


These images are easy to fussy cut out but even if it's not perfect just run a water based black marker along the edge to cover the white core of the paper and it will look perfect.


If you are anything like me you have plenty of pattern paper hanging out in you craftspace, so use it! I pulled out scraps from the “Me and You” collection by “Me And My Big Ideas” to created 3 cards, you can find the bonus card over on my blog. I cut my scraps down to make layers for an A2 card (4 ¼ by 5 ½ inches) and uses foam tape to pop up my colored jars. Once I had the placement for my heart jar I colored in a shadow on the pattern paper to ground it.

Using digital stamps along with pattern paper scraps is a great way to make easy beautiful cards. I hope you enjoyed these cards. If you want see more of my craft room creation you can follow me on social media @TheCraftBean.

Happy Crafting
Brandi M.
The Craft Bean


Sunday, May 10, 2020

May Flowers


Hello Coffee Bean Design fans!

My name is Brandi M. aka The Craft Bean and I have a couple craftroom creation to share with you. I got a chance to play with the super sweet daffodil digital stamp by Coffee Bean Designs.


I started out by printing the images on card stock I used a 80 pound card stock but you can use any card stock that works with your printer.

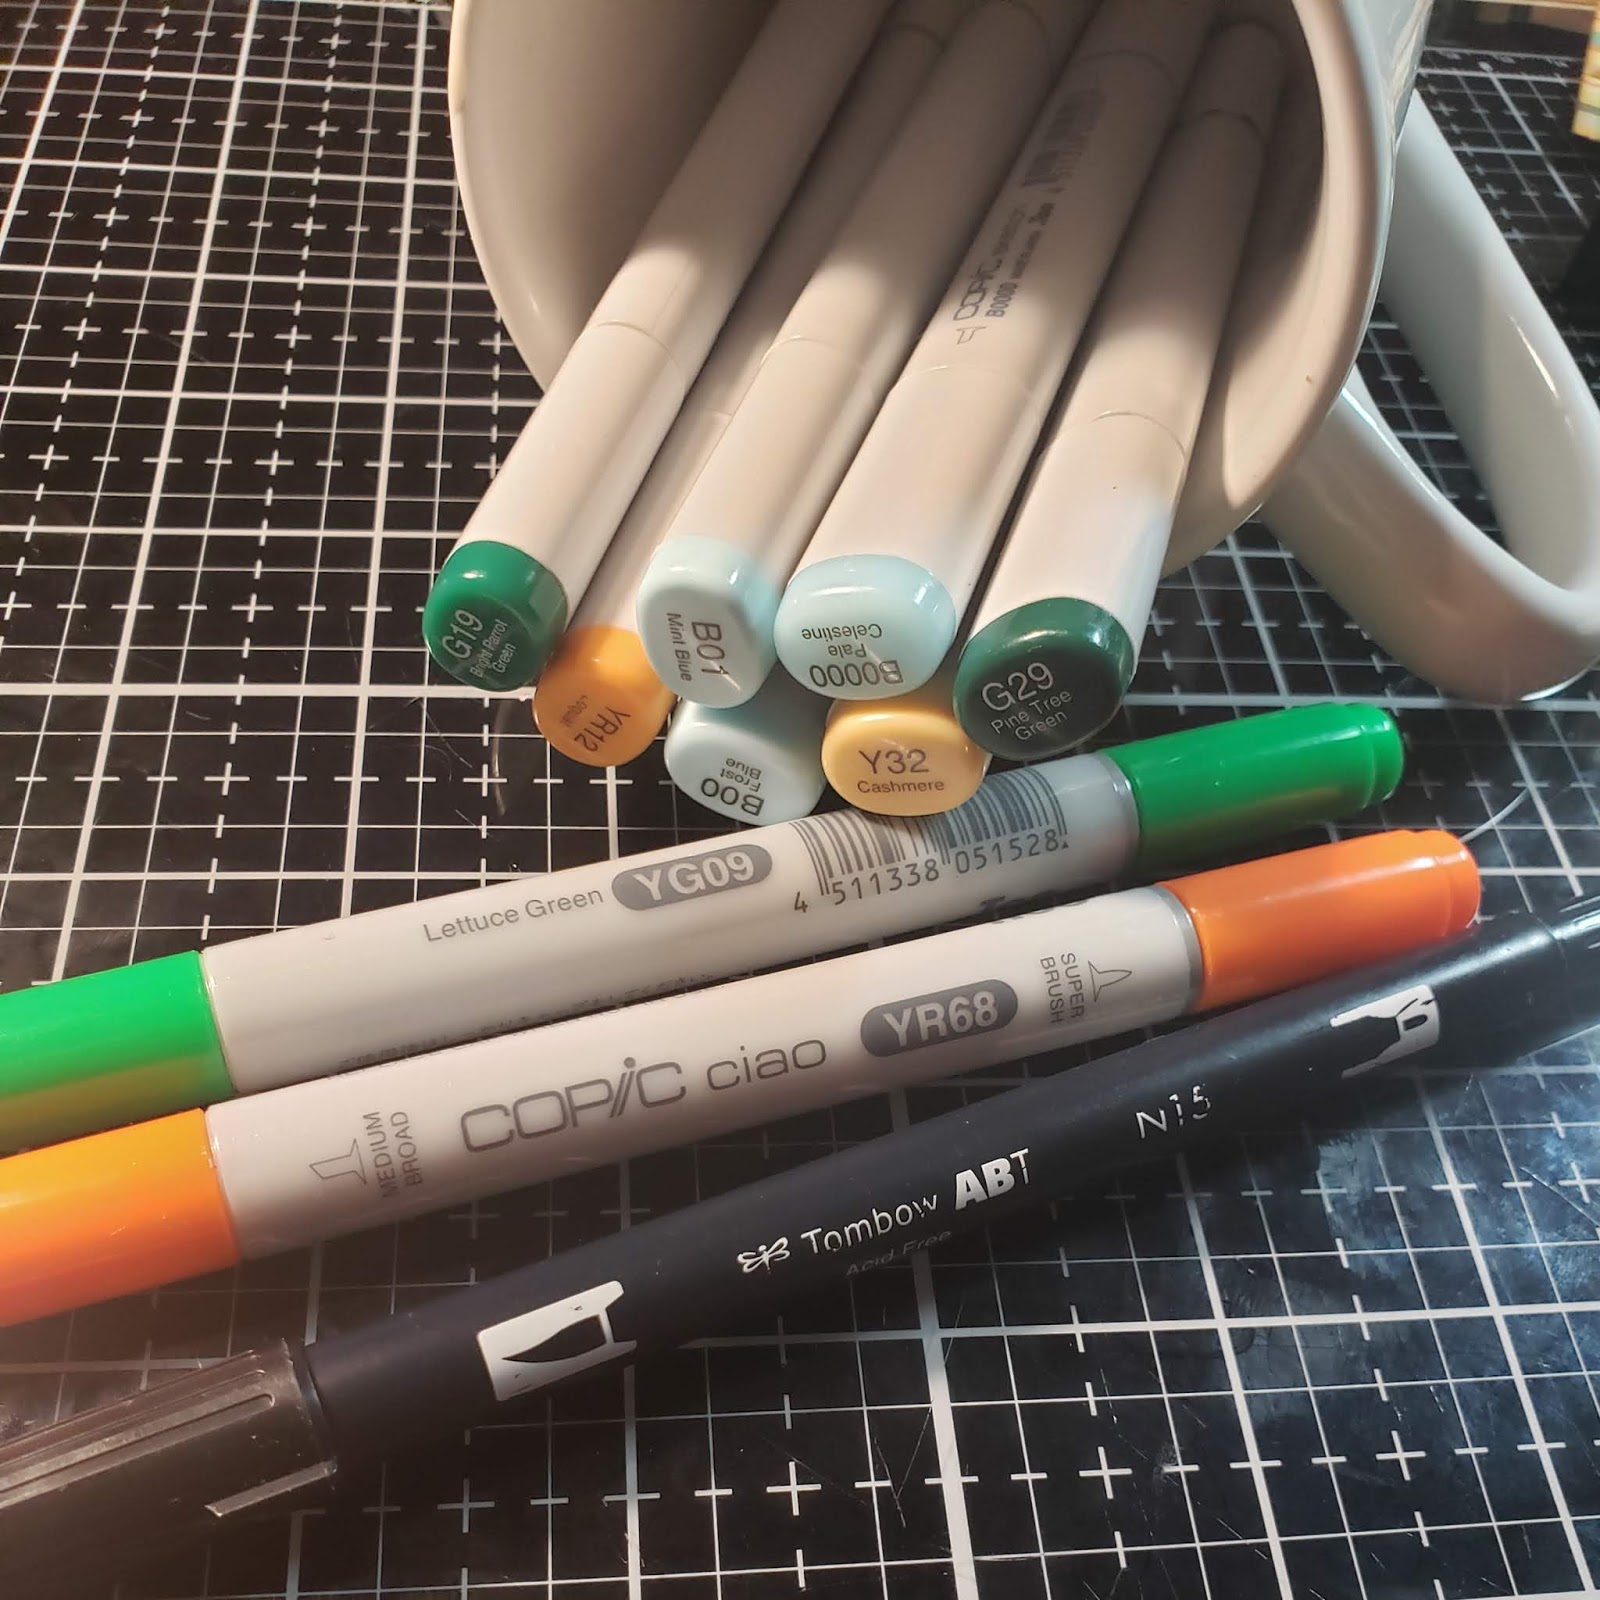
I love coloring and as soon as I saw these floral images my Copic makers called to me. I also think these are beautiful when water colored. You can check out my blog to see that. I used 3 color blends, coloring from lightest to darkest then back to get an even blend.


Copic Marker Combs:
Jar: B01, B00, B0000 Leaves:G19, G29, YG09 Flowers: YR68, YR12, Y32


Since I had two images colored I decide to make two card. I cut one piece of 8 ½ by 11 craft card stock in half to get two A2 card base (4 ¼ by 5 ½) For the first card I trimmed the flowers in the jar down (2 7/8 by 4 3/8) and matted it on yellow card stock and adding a “Hello Friend” sentiment for an older Tim Holtz set. Then went digging through my scrap bin and found a plaid pattern paper that coordinated with my color pallet. I trimmed my scrap down to 2 by 5 ½ inked the edges with brushed corduroy Distress Ink. I adhered my plaid paper along the edge of the card and then used fun foam to pop up my focal point.


For my second card I fussy cut the floral image and inked the edges with a black water base maker to pretend I cut it out perfectly. I used more of the plaid paper along the bottom 3rd of the card to ground my flowers and stamped “Thinking of You” from another Tim Holtz set. For my focal point I added foam tape to the back of the flower and Tombow glue to the steams to add more depth to this simple card.

Thank you for letting me share my craftroom creations with you all! I will be back soon with more to share. If you just can't wait you can head over to my blog for a bonus card. If you are inspired to create to create with this or another Coffee Bean Designs you can find them here. You can also find me all over social media @TheCraftBean.
Happy Crafting!

Brandi M.
The Craft Bean