Monday, June 29, 2020
Good Luck Best Wishes
For my last card of this month I chose to bling it up. This card was so much fun to make. The horseshoe is a Digi file designed by Anne Ingram and can be found in Lady Beans Etsy Shop. I used Nuvo glue pen and Nuvo Pure Sheen Glitter in steel gray. The flower is a cut out from a previous Stampin Up Paper Pumpkin pack. Sentiment is The Ton Easy Expressions. Card stock is Soft Suede and Wood Texture Designer series paper from Stampin Up. The Peel off Sticker strips are from Love From Lizzy in Pink Glitter and Silver. Hope you like bling!
Saturday, June 27, 2020
Happy Father's Day BookMark, Coffee Beans June 2020
Welcome Back Friends,
Robin here with the Lady Beans Blog, sharing my project using the most adorable image Jesse Boy Bear, from Bug A Boo Stamps , for Fathers Day.
My father has been gone for 22 years, I miss him everyday. He was an avid reader, and hence very smart. I know how much he would of loved my bookmark !!
I colored my image with colored pencils, fussy cut the bear out. Inserted pattern paper, that I stamped Happy Fathers Day onto, and then inserted that into the bookmark sleeve, and then adhered Jesse Boy Bear to the front of the bookmark. I love the dimension with the image on the outside of the sleeve.
Thank You for visiting and as always I appreciate your kind comments
Until Next time....
Robin
My father has been gone for 22 years, I miss him everyday. He was an avid reader, and hence very smart. I know how much he would of loved my bookmark !!
I colored my image with colored pencils, fussy cut the bear out. Inserted pattern paper, that I stamped Happy Fathers Day onto, and then inserted that into the bookmark sleeve, and then adhered Jesse Boy Bear to the front of the bookmark. I love the dimension with the image on the outside of the sleeve.
Thank You for visiting and as always I appreciate your kind comments
Until Next time....
Robin
Friday, June 26, 2020
Wedding Card
Hello - Helle here with my last post as Design Team Member of the Coffee Beans Design Team.
I chose to make the lovely Wedding Cake that Anne Ingram designed and that you can find in the Etsy Store and the flowers are designed by Annie Collins.
This time I did a mixture of print and cut and coloring in the image.
The cake, background and the card are all print and cut - papers are from BoBunny's Digi collection "Country Garden"
I used Promarkers to color in the flowers and used a Glitter Gelly Roll pen for the flower centers.
Finally I found a fun adhesive pearl swirl for the cake to give it that last WOW factor.
Thank you for visiting. Thank you to the Lady Beans/The Coffee Beans for having me on their team. I've really enjoyed my time here and will be following you on the sideline from now on.
Thursday, June 25, 2020
Hello Anne Ingram here and I am rebelling!!! Lol. I used all my images for our team n the early part of the month so I decided to do a 4th of July Card . We don't tend to celebrate the 4th where I live but I wanted to celebrate with this card for all of my friends across the pond .
I downloaded the flag from the net and cut all the images out with my Scan and Cut . Hand drew a few fireworks added lots of glitter to finish off.
I hope you like it!! Hugs ❤
Wednesday, June 24, 2020
Bippity Boppity Boo
Hi everyone! The shoe image from Coffee Beans reminds me of the glass slipper from the movie Cinderella. I used my zig markers to color the image. Distress ink and heffy doodle stencil for the stars background. I also use my wink of Stella to add a little glitter.
Tuesday, June 23, 2020
Hi Emma here from the lady beans I am using the horse shoe file by our lovely Anne Ingram which is available from her Etsy shop
I decided to make this into a good luck charm that you give to the bride at her wedding I thought I’d do quilling with it to make something a bit different I used 3 different tones of pink and made them into swirls I also added some gems for a little bit of sparkle and 2 pretty heart gems to finish it off plus ribbon for you to hang it by hope you like it thank you for looking
Friday, June 19, 2020
Shoes to Die for
Hello,
Coffee Bean Design's Fans!
Today is my last guest design team post for Coffee Bean Designs, I hope you have enjoyed all the craftroom creations I have shared over the last couple months. Today's craftroom creation is a card inspired by a pair of iconic red heels.
As soon as I saw the high heel shoe digital stamp I knew it need to be red. I started off by printing my digital stamps on white card stock. My color medium of choice is Copic markers but use whatever you enjoy coloring with.
Copic combos
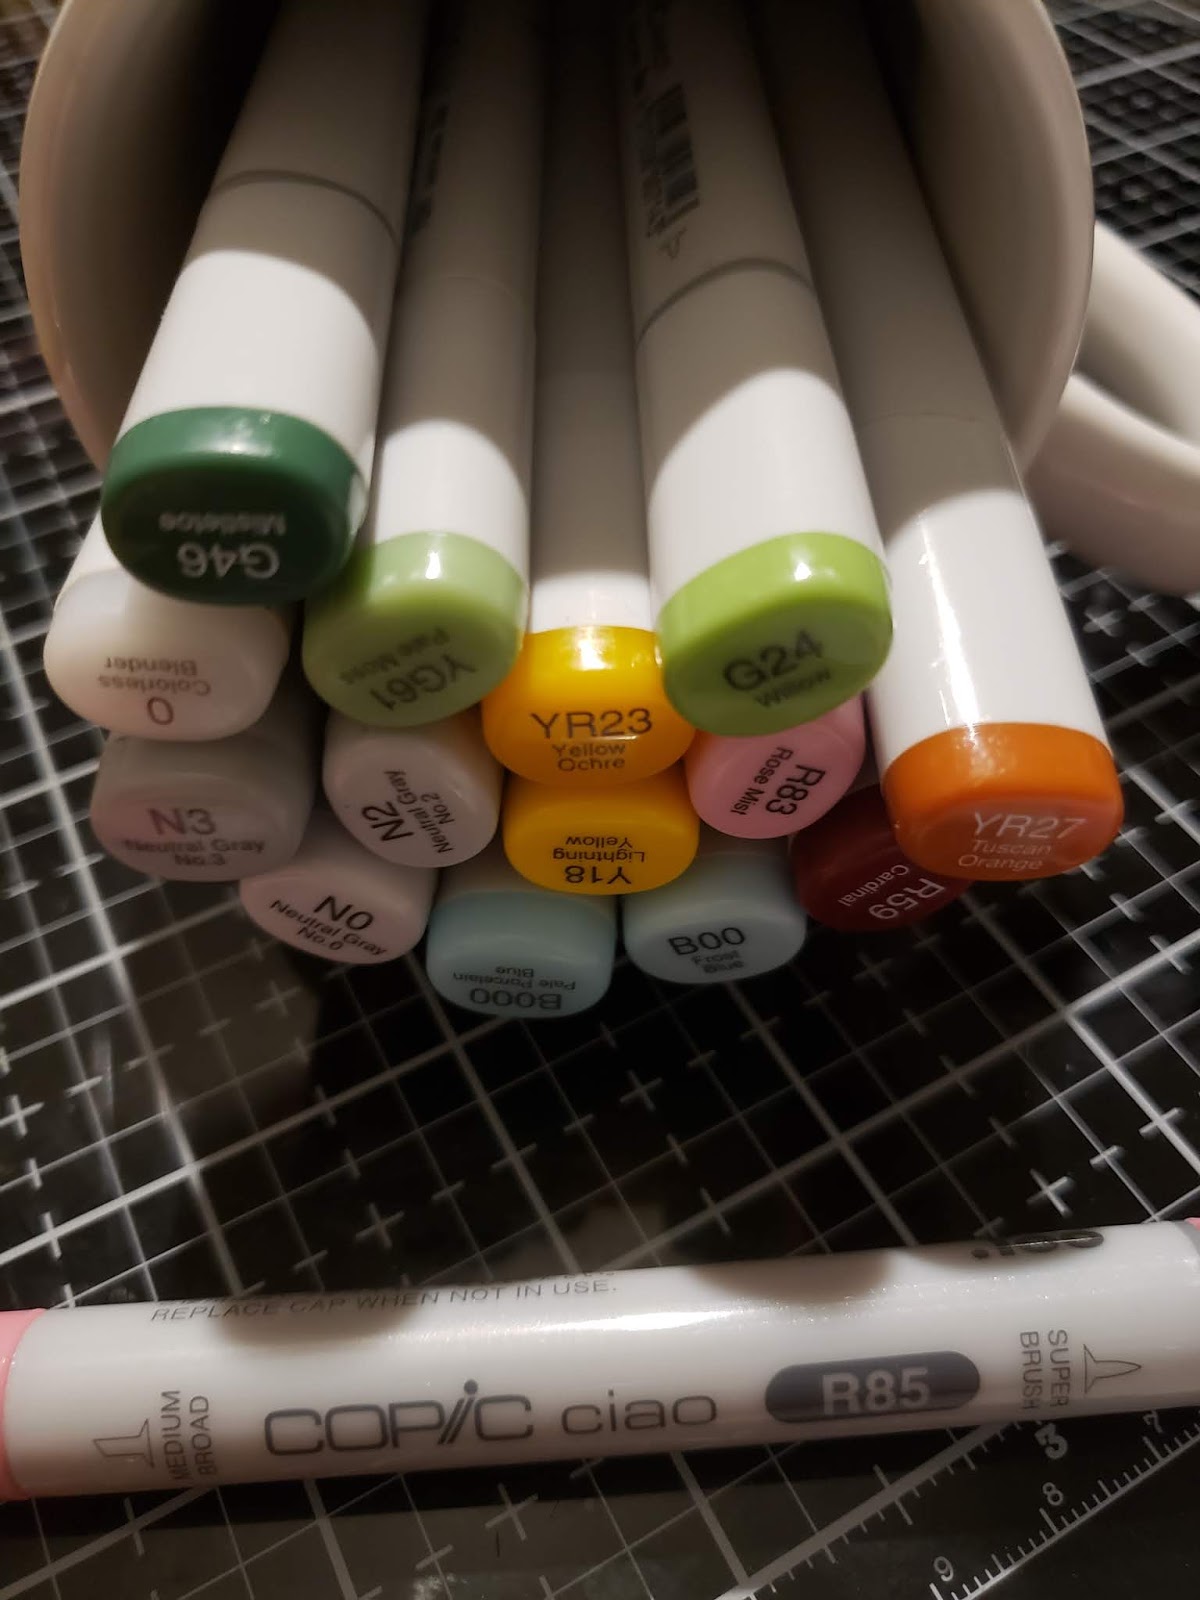
R17, R27, R29, & R59
C7, C9, & 100
After the shoes were all colored, I covered them with clear wink of Stella and glossy accents. Glossy accents needs time to dry so I set the shoes aside and worked on another card, which you can find over on my blog.
For the background I cut down yellow card stock to 4 by 5 1/4 inches and pulled out my brick stencil by Kindred stamps. Next I inked my background with scattered straw and wild honey distress ink, blending in from the short sides of the yellow cardstock.
Once everything was dry I fussy cut the shoes out remembering to run a water based black marker along the edge to hide the white core of the cardstock. I cut and scored a black A2 card base and added my yellow brick background. To add more dimension to the focal point I glued one shoe down flat while popping up the other on foam. To grounded the focal image I created a sentiment on my computer and cut it into a strip to place under the shoes. I added a red heart gems to each shoes as a final detail.
I love the way this card came out and hope you did too. I want to say thank you all the ladies behind Coffee Bean Designs for letting me be a part of the guess design team. I enjoyed getting to share my craftroom creation with you all. If you want to see more of my work you can find me on social media @TheCraftBean.
Thanks
Brandi M.
The Craft Bean
Coffee Bean Design's Fans!
Today is my last guest design team post for Coffee Bean Designs, I hope you have enjoyed all the craftroom creations I have shared over the last couple months. Today's craftroom creation is a card inspired by a pair of iconic red heels.
As soon as I saw the high heel shoe digital stamp I knew it need to be red. I started off by printing my digital stamps on white card stock. My color medium of choice is Copic markers but use whatever you enjoy coloring with.
Copic combos
R17, R27, R29, & R59
C7, C9, & 100
After the shoes were all colored, I covered them with clear wink of Stella and glossy accents. Glossy accents needs time to dry so I set the shoes aside and worked on another card, which you can find over on my blog.
For the background I cut down yellow card stock to 4 by 5 1/4 inches and pulled out my brick stencil by Kindred stamps. Next I inked my background with scattered straw and wild honey distress ink, blending in from the short sides of the yellow cardstock.
Once everything was dry I fussy cut the shoes out remembering to run a water based black marker along the edge to hide the white core of the cardstock. I cut and scored a black A2 card base and added my yellow brick background. To add more dimension to the focal point I glued one shoe down flat while popping up the other on foam. To grounded the focal image I created a sentiment on my computer and cut it into a strip to place under the shoes. I added a red heart gems to each shoes as a final detail.
I love the way this card came out and hope you did too. I want to say thank you all the ladies behind Coffee Bean Designs for letting me be a part of the guess design team. I enjoyed getting to share my craftroom creation with you all. If you want to see more of my work you can find me on social media @TheCraftBean.
Thanks
Brandi M.
The Craft Bean
Thursday, June 18, 2020
Congratulations Mr & Mrs
Hello lovely people. How are you all doing on this beautiful day?
It is wedding season in many parts of the world - including here in the US. So I used the cake digi from our very own Anne Ingram to create this wedding card.
The background paper was left over from a pad that I no longer have, so I cannot tell you the name. I filled in each layer of the cake with patterned cardstock from the DCWV pack "The Silver Lining Stack." The top layer of each section is gold glitter.
I cut the congratulations and the couple topper from "Black Kraft & Gold" paper pad from Recollections. The couple topper is a Simply Defined die called "Love Story, Together" (Scrapbooking Made Simple). The Mr. & Mrs. die is a no-name die from Amazon. The Congratulations die is from Crafter's Companion.
I then placed flowers at the bottom from my stash. I will leave the inside blank until I know which couple will be receiving it.
Hope you like it and happy crafting everyone.
Blessings,
Janet
Wednesday, June 17, 2020
Hey Y’all! It is my turn with Annie Collins
Digi Of Perfume Bottles. I colored the bottles with my Prismacolor pencils and made them stagger across a dresser.
I hope you like them, and you can find them in our Etsy Shop
http://www.etsy.com/uk/shop/ladybeandigistamps
Digi Of Perfume Bottles. I colored the bottles with my Prismacolor pencils and made them stagger across a dresser.
I hope you like them, and you can find them in our Etsy Shop
http://www.etsy.com/uk/shop/ladybeandigistamps
Saturday, June 13, 2020
Wedding Cake
Hello Coffee Bean Design's fans it's
Brandi M, I am back to share a card with you featuring the “Wedding
Cake” digital stamp by Coffee Bean Designs.
I printed the “Wedding Cake”
digital stamp on to white cardstock, one of the things I love about
Digital stamps is you can resize them to fit your project. For this
card I printed it a bit smaller to use on my card. On
my second card , which you can find on my blog I printed it larger.
For those of you who don't know I love
to color with my Copic makers so that's what I pulled out to add more
depth and detail to the cake image. I shaded the cake with my light
gray combo and then I draw simple flower on my card, I started by
drawing a dot for the center. Copic makers are alcohol based and work
great for blending. Next I draw five flicks for the petals of the
flowers in my darkest shade then add my medium and light on top still
using a flicking motion. I went darkest to lightest then back again
until I was happy and then a green vine and white gel pen details to
the flower centers.
For the cake topper I dug through my
stamp stash until I found the small hearts I colored them pink and
fussy cut them out. Remember to make it look like they were trimmed
out perfectly run a water base black maker a long the edge to hide
the white core of the cardstock.
I often pull from my scrap bin when
making cards which is exactly what I did for the pink cardstock
background. I cut it down to be slightly smaller than an A2 card
base. I also used a scrap of white cardstock to stamp the sentiment
on with black ink.
To pull the card together I layered the
pink cardstock onto a white A2 card base. Using foam tape I popped up
the sentiment strip and then glued down the wedding card using the
sentiment to ground the image. I topped the cake with the pink
hearts. To add more detail to the card I added wink of stella over
the cake and scattered flat back pearls.
I hope you enjoyed this card! If you
want to see more you can head over to my blog and see how I turn this
image into a Birthday cake.
Thanks
Brandi M.
@TheCraftBean
Friday, June 12, 2020
With the right shoes....
Comfortable shoes are necessary for a woman to be confident, the same as with great friends.
When friends are by our side and comfortable shoes on our feet, we are able to conquer the world. Designer paper to match the Pink Pirouette card stock on a Whisper White A2 size card base. The Shoes Digi file is from Anne Ingram. Of course, I had to make them bling with glitter after coloring them in Pink Pirouette Stampin Up Stamping Blends. Sentiment is from Skipping Stones Design Stamp Set. Check out the Digi files from our Lady Beans in our Etsy Shop
Please also visit https://salima0705.blog/ for more inspiration.
Subscribe to:
Posts (Atom)
-
Hello Friends. Salima here back blogging for The Coffee Beans . My new post is using the Scarecrow from Lemony Fizz . I am not very good a...
-
Hello Crafty People! Welcome back to the blog. There's so much inspiration here, please take a tour of the other projects. Today's...